
A good trainer doesn’t focus on the tool but uses it to accentuate the training and the learning objectives they seek to accomplish. Below are 14 practical tips and tricks I have found to use PowerPoint to make me an effective trainer.
Use B and W key for a black or white screen
Effective trainers grab attention and command the focus of the room to highlight a key learning point. When you are in slideshow mode, you can hit the B or W key to go to a full black or white screen (then hit the same button to return to your regular slide). Some clickers will have a button that does this as well (see next tip for my recommendation). Using this shortcut is super useful to bring the focus on you as a trainer at the appropriate time.

Invest in a good training clicker
You don’t want to be chained to the keyboard to change to the next slide or go back in your slides. Don’t be unprofessional by repetitively demanding “next slide” to the person running your computer or by running back to the computer to advance after each slide. You want to invest in a good wireless clicker with features like a timer and a black screen activator. I have had great luck with Logitech and would recommend the Logitech Professional Presenter R800, Wireless Presentation Clicker Remote with Green Laser Pointer and LCD Display on Amazon.

Use F5 to start slideshow from beginning
Don’t be that person we have all seen at the beginning of their training struggling to find the button in PowerPoint to start their presentation. Be ready to go and hit the F5 key to start your training from the beginning slide. If you want to start the currently selected slide use Shift + F5.
In slideshow mode, type slide number followed by enter
Ever get asked a question and you need to jump back or forward in your training slides to cover the answer? To answer, you have to click through 10 slides or show content you don’t want to show just yet in the training? No more! Now you can jump directly to a slide when you are in slideshow mode by typing in the slide number and hitting the enter key.
Use Presenter view
Presenter view displays your notes and shows you the current and next slide on your laptop or computer while the projector is showing only the current slide. This feature is very useful to reference your talking points and to be prepared for the next slide of content you will be covering.
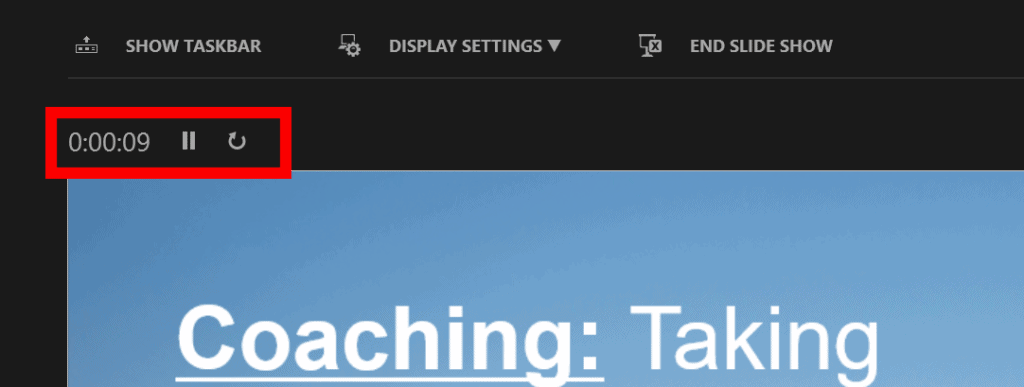
Don’t check your watch; use PowerPoint timer built in presenter view
When a trainer looks at their watch, bad thoughts go through the mind of training participants. “When is this thing going to be over?”, “Is this trainer is running behind?”, “This person is disorganized!”, “What content are we missing?”, “This trainer doesn’t know what they are doing and I need to go to the grocery store tonight.” You want to avoid your training participants having any of these thoughts by developing a system where they can’t see you checking time. Get a clicker that has a timer built in (again, see #8) or use the PowerPoint timer that is defaulted in presenter view (this will show you time elapsed in your training). Also, I would recommend getting a large display clock you can put in the back of the room to nonchalantly check the time. I would recommend this one on Amazon: WallarGe Atomic Wall Clock.
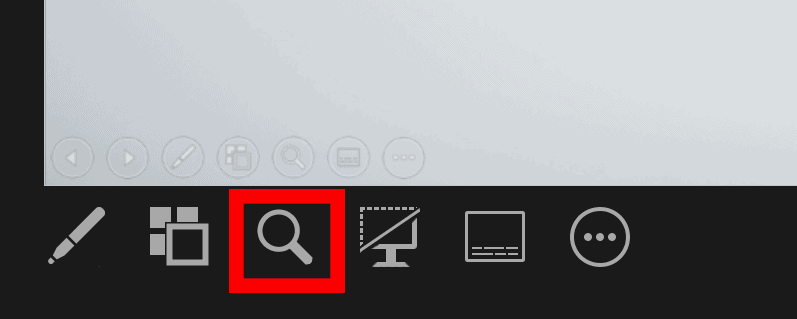
Use the Zoom button in presenter view
“Sorry for the eye chart” — I have heard this too many times in training when showing a visual that has small graphics. The best practice would be avoiding small graphics in the first place but sometimes you don’t have a choice if they are slides mandated by your company or a visual you have to use. To combat this, use the zoom button in presenter view by clicking on the magnifying glass and zooming into the content you are training to focus your learners and to not strain their eyes.
Windows Key+P to mirror displays/Cmd+F1 on Mac
In the middle of your training your laptop becomes disconnected for whatever reason and the IT guy is now nowhere to be found. Don’t be the flustered trainer that can’t figure out how to get their presentation on both the projector and on their computer. Simply use the keyboard shortcut Windows+P to mirror displays/Cmd+F1 on a mac to effortlessly make this happen. You can also extend the display to enable presenter view. This trick can come in useful if you need to check something on your computer at a break but you don’t want the entire room to see.
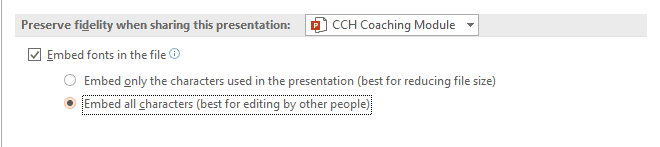
Embed the fonts in your PowerPoint file
Typically in the training room you may not be able to use your computer or have to use the one that is already in the room hooked up to the projector. When your training slides use a font that is not installed on that computer, this can cause all kinds of issues and misalignments in your slides. Depending on where you are training, you may not be able to connect your own laptop or device. Embedding the fonts in your training slides is the best option. Follow these steps to embed your fonts.
- Click File
- Click file in the upper left corner
- Select Options
- Go to the save option on the left menu
- Check embed all fonts in the file
- Select embed all characters
- Click ok and save the presentation
Use sections with co-trainers
If you have a long presentation with lots of slides, a great way to segment out what you and a co-trainer are training is using sections. In slide sorter view, you can segment different sections by selecting the slides then right clicking to add a section. When you are going to print you can also select by section to only print your slides.
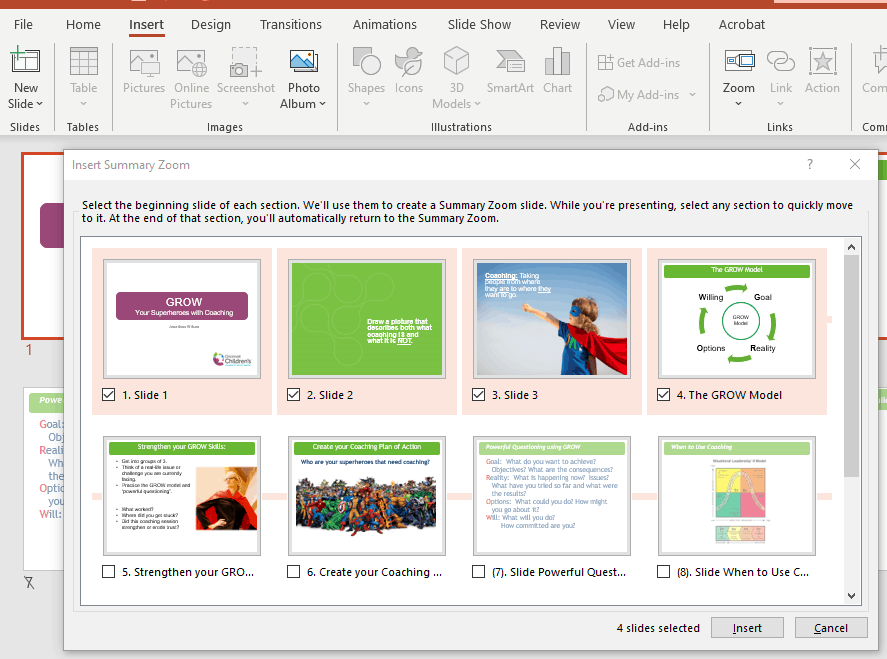
Use zoom summary
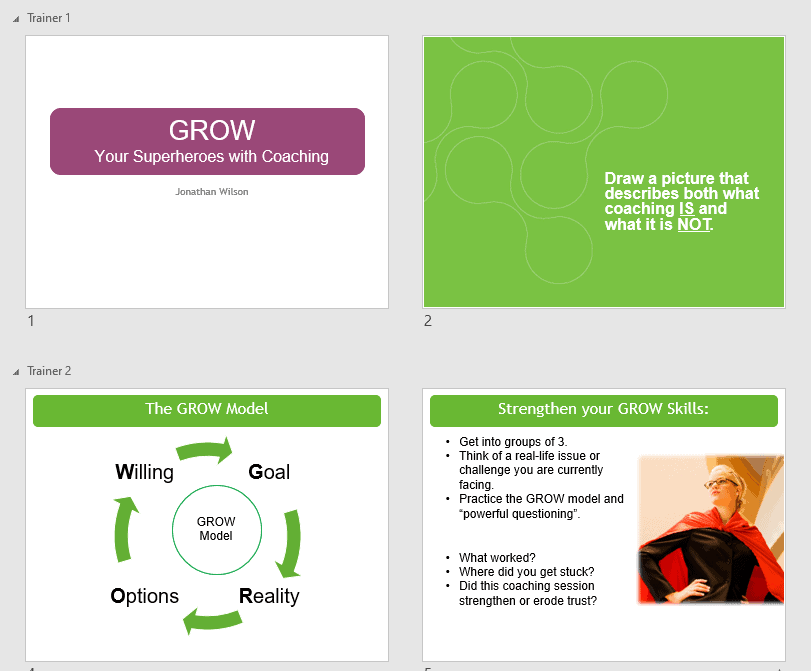
Have you ever been envious of Keynote or Prezi presentations and their cool transitions and wanted to have similar functionality in PowerPoint? Well some of that is actually hidden in PowerPoint using the zoom summary. When you create a zoom summary, it will take a group of slides and allow you to click on each of them and will zoom into that slide then click again to zoom out. This could be really effective technique for content such as onboarding new hires to your company departments or visual-based content to show the relationship of the content. Here is how you use zoom summary.
- Select a group of slides
- Go to insert
- Select zoom in the ribbon
- Click zoom summary
- A new slide is created with a zoom summary
Use icons and 3D models
Clipart in PowerPoint gets a bit of a bad reputation but I have found the icons and 3d models to be very useful. The icons are very simple; their design is effective for training. The 3d models available are high quality and most people don’t know they are in PowerPoint. You can access the icons under the insert menu and hit icons. The 3d models are available in insert menu> 3d icons> From online sources.
Use notes and note pages
Notes pages should be your best friend in PowerPoint as a trainer. You should keep all your learning points in the notes. Use less text in the actual slide and put it in as talking points in the notes. PowerPoint is simply just a tool. An effective trainer will make the training engaging, not PowerPoint. I am always surprised by how often the notes feature is underutilized in PowerPoint: don’t make this mistake.
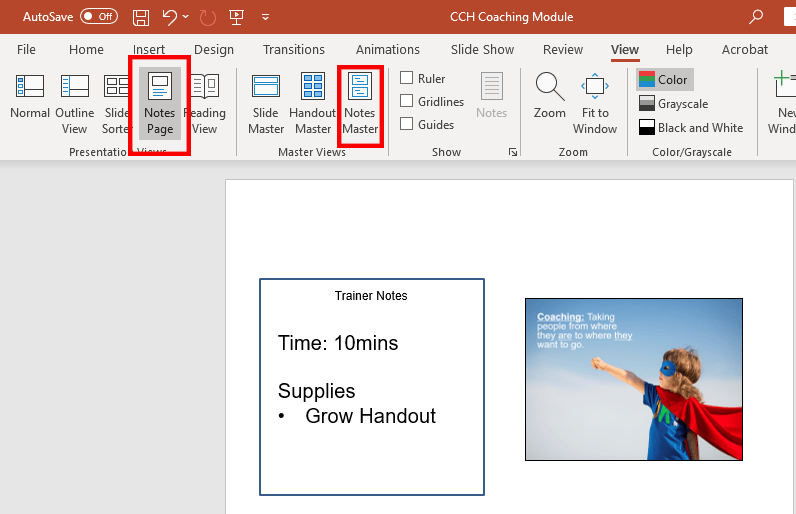
Change the master notes template page to create trainers guide
If you have ever tried to keep a trainers guide in Word or another program and maintain a separate PowerPoint to display training slides, this tip is going to rock your world. You can use the notes master to create a trainer guide. You can manipulate the master notes template by doing the following:
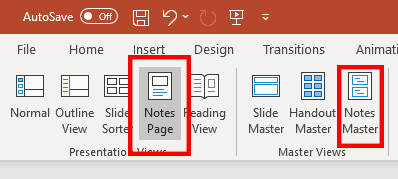
- Click view
- Click notes master
- Make changes to notes master template
- Click close master view
- Print your PowerPoint in notes view
The default view shows a large view of your slide but you can shrink the slide element down and customize the notes view to add a text box for time on this slide, what training materials you need, and what the key learning points are during that slide. You can also use hidden slides at the beginning of your PowerPoint to have an agenda in the slide notes view. When you print out the notes pages it can serve as your trainers guide.
Remember, you are the training, not PowerPoint!
Going through slides doesn’t translate to effective learning.
You need to gain your learners’ attention by being engaging and using the tool as intended: to enhance the learning.